Most everyone is familiar with how to do dictation on an iPhone by activating the microphone within the keyboard and/or using Siri. This has your phone interpret your speech and turn that into text, as if typing on the keyboard. But did you know you can do the same thing with your Mac? It’s true! Apple has continued to improve upon this service over the years. Any Mac with OS X from Mojave 10.14 and beyond, has the ability to do dictation with high accuracy.
Whether you are composing an email, sending a message through iMessage, or writing a long Word document, your Mac can take dictation for you – no typing required.
Set up your Mac to Listen
- Under the Apple menu, open System Preferences (or System Settings).
- Select “Keyboard” and when that opens, click on the “Dictation” tab on the right.
- For the “Dictation” radio button, turn that to “On.”
- On the left, select “Internal Microphone” or other preferred mic. You will see the microphone animation responding to the ambient sound.
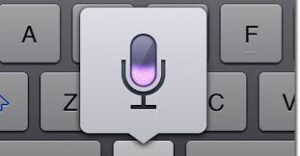
To get started, open your email, Word document, or iMessage window and place your cursor where you want to begin. Press the Function or “fn” key in the lower left-hand corner of your keyboard twice in a row. A small window with a microphone will appear and will indicate that your Mac is now listening and waiting to dictate your speaking.

Similar to Siri or dictation on the iPhone, you will need to speak your punctuation as well, such as saying “period” or “question mark” at the end of a sentence. Fortunately, Apple put together a handy list of Commands for Dictating Text on Mac.
When you are finished, either press the Done button text just below the microphone icon, or press the function or “fn” key once to have your Mac stop listening.
The quieter your surrounding environment can be, the more accurate your Mac’s dictation will be.
Can you help me?
Yes, that’s what we’re here for! Contact Us and we can get you set up!


